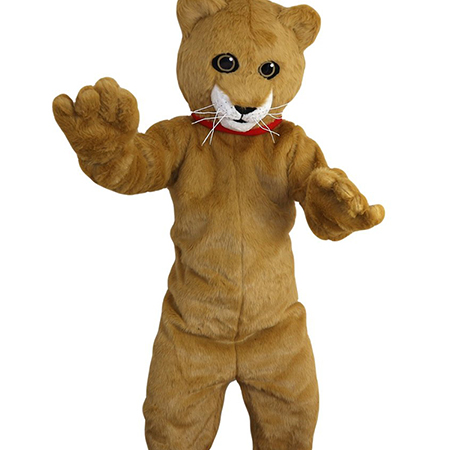
Step-by using-Step guide: making a Foam Lion Mascot gown
growing your personal foam lion mascot gown can be an exciting and fun project. whether for a faculty occasion, community collecting, or only a few amusing get dressed-up, this step-by-step manual will help you deliver your lion mascot to life the use of fundamental materials.
materials wished:
Foam sheets (craft or foam board)
Cardboard
hot glue gun and glue sticks
Scissors
application knife or box cutter
Paint (yellow, brown, black, white)
Felt sheets (optionally available for information)
Velcro strips
scarf or hat base for headpiece assist
Popsicle sticks or wooden dowels (for shape)
Step 1: design the Lion’s Face
begin through sketching out a lion face on paper. This layout will function a template for cutting the foam pieces. encompass capabilities like the eyes, nose, mouth, and mane outline. cognizance on growing clean, easy shapes that can be without problems traced onto the foam sheets.
Step 2: cut Out the foam portions
the usage of the template from Step 1, trace the lion’s face and different features onto the foam sheets. cautiously reduce alongside the strains with scissors or a software knife. Pay cautious attention to element to ensure all parts in shape collectively properly.
Step 3: Create the Mane
The mane is one of the maximum recognizable capabilities of a lion. cut several lengthy, wavy strips of foam to resemble a lion’s mane. you would possibly need to vary the lengths and curl patterns for a more natural look. attach those strips across the face piece the usage of warm glue. make certain they’re calmly spaced and securely attached.
Step 4: attach the Face to a aid structure

For balance, you may want to attach the foam face to a cardboard base. cut two identical cardboard pieces slightly smaller than the face. secure the froth face between the 2 cardboard portions the usage of warm glue. upload popsicle sticks or wooden dowels vertically to behave as helps and offer extra balance.
Step 5: Create the Ears
cut out ear shapes from the froth sheets. these may be simple ovals or semi-circles with a pointy quit. decorate and colour the ears as preferred, then connect them to the pinnacle of the headpiece. ensure they are located efficiently so the lion’s head appears proportional.
Step 6: portray and details
once all the foam pieces are assembled, it’s time to paint. begin with a base coat of brilliant yellow for the face and mane, then add brown and black details. Use fine brushes to feature whiskers, eyebrows, and nostril details. permit the paint to dry completely earlier than moving on to keep away from smudging.
Step 7: non-compulsory features
To make your mascot gown stand out, do not forget adding additional capabilities consisting of felt accents, glitter, or small add-ons like a collar or name tag. Velcro strips can also be brought to the again of the headpiece for smooth wearing and removal.
Step 8: very last meeting
as soon as the whole thing is painted and embellished, check all parts to ensure they may be cozy. Make any very last adjustments or contact-u.s.a.needed. sooner or later, connect the headpiece to a supportive headband or hat to make it wearable. make certain the whole lot suits simply and doesn’t placed too much stress in your neck or head.
end
Congratulations! You’ve now created your very own foam lion mascot costume. This DIY assignment now not only gives hours of amusement but additionally lets in for personalisation based totally to your preferences. whether or not you’re making it for non-public use or donating it to a neighborhood occasion, your hand-crafted lion mascot is positive to make a roaring impression!