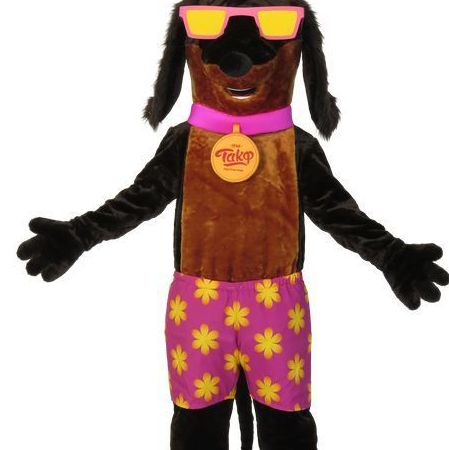
Attending a pet expo is always an exciting experience, and what better way to make a statement than by showcasing your furry friend in a homemade mascot costume? Creating DIY dog mascot costumes can be both a fun and rewarding project for you and your pet. In this article, we’ll guide you through the process of designing and making creative and comfortable mascot costumes that will turn heads at any pet expo.
Selecting a Theme
When planning your DIY dog mascot costume, start by choosing a theme that reflects either your personal interests or something popular that people will easily recognize. Classic options include superheroes like Superman or Batman, beloved cartoon characters such as Snoopy or SpongeBob, or even famous athletes like mascots from various sports teams. Think about how easy it will be to replicate the design with materials you have on hand or can easily find.
Gathering Materials
To create a dog mascot costume, you’ll need a few basic supplies:
Old clothing or fabric scraps
Velcro strips
Hot glue gun and glue sticks
Needle and thread (or a sewing machine if you prefer)
Scissors
Measuring tape
Elastic bands
You might also want to add specific items depending on your character choice like felt for ears, foam sheets for shapes, and paints for details. It’s essential to ensure that all materials are non-toxic and safe for pets.
Taking Measurements
Before you begin cutting and assembling the costume, take accurate measurements of your dog. You’ll need to measure the neck, chest, length of the back, and girth of your dog’s body. Don’t forget to include the tail if it will be covered by the costume. These measurements will help you create a more tailored fit, ensuring comfort and ease of movement for your dog.
Designing the Costume
With your chosen theme and materials, sketch out a simple design on paper. Consider creating separate pieces for different parts like the head, body, legs, and tail. For example, a superhero costume might have a cape attached to the back, while a cartoon character could feature oversized shoes or gloves for paws. Remember that simplicity often works best, especially when working with pets who may not be too thrilled about wearing anything new.
Assembling the Costume
Now comes the fun part – putting everything together! Start by creating the base layer, which usually covers the dog’s back and wraps around the chest. Use old t-shirts or fabric scraps, sewing them into a vest-like structure. Attach Velcro strips for easy fitting and removal. If necessary, add additional straps or elastic bands to keep everything secure.
Next, work on the headpiece. Cut out shapes for ears or other distinctive features using felt or foam sheets. Secure these elements to an adjustable headband or hat that fits comfortably over your dog’s head. Make sure there is enough space for them to see clearly and breathe freely.
Finally, add any finishing touches like logos, colors, or accessories that complete the look. For instance, you could sew on patches, apply fabric paint, or use hot glue to attach small decorative items.
Testing and Adjustments
Once the costume is assembled, try it on your dog in a calm environment to see how they react. Observe their behavior to ensure they are comfortable and not distressed by the new attire. Be prepared for some minor adjustments; perhaps the headpiece needs tightening or the body suit requires slight resizing. Comfort should always come first!
Showtime!
After ensuring everything fits well and your dog seems content, relaxed, it’s time to debut your masterpiece at the pet expo. Whether your pup becomes an instant star or just enjoys being part of the fun, creating a DIY dog mascot costume can be an enjoyable bonding experience for both of you. Plus, you get the added satisfaction of knowing you made something unique and special for your furry friend. Enjoy the expo and all the compliments your adorable mascot is sure to receive!